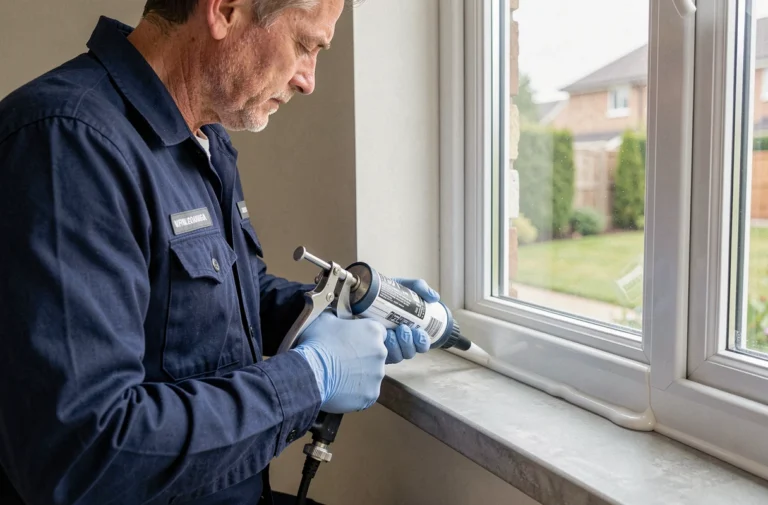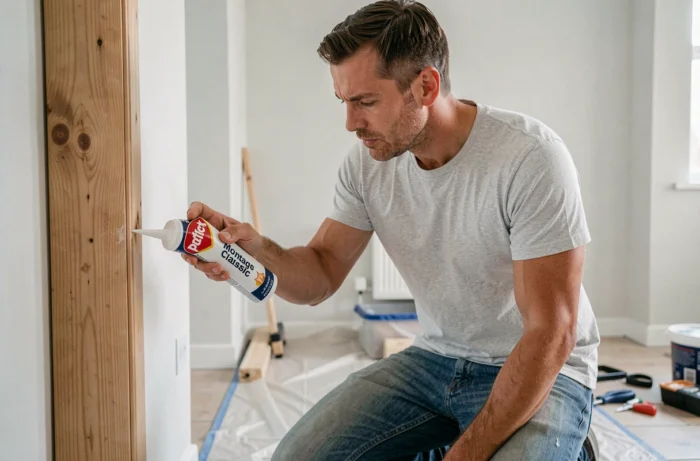
Fixing a baseboard, a mirror, or a decorative panel without drilling into the wall is exactly what Pattex Montage Classic adhesive offers. The product replaces nails and screws on most common indoor materials. However, it is essential to properly prepare the surface and apply the adhesive correctly to achieve a durable bond.
Pattex Classic Mounting Adhesive: How the formulation affects bonding
Before discussing application, one point deserves attention: the composition of the adhesive directly influences its performance and limitations. Pattex Montage Classic is a solvent-based adhesive, unlike recent hybrid ranges (like Flextec) that work without solvents and are virtually odorless.
In practical terms, this means two things. First, the initial grab is quick, and the immediate hold is quite firm. Second, the product emits an odor during drying, which necessitates proper ventilation of the room.
More recent hybrid formulations, such as those used in the “Heavy Objects” range, are better at resisting vibrations, UV rays, and temperature variations. However, the Classic version remains perfectly suited for common indoor bonding tasks: baseboards, moldings, trims, lightweight panels. For everything you need to know about Pattex Montage Classic, its technical characteristics, and its variants, the detailed product sheet complements the following information well.
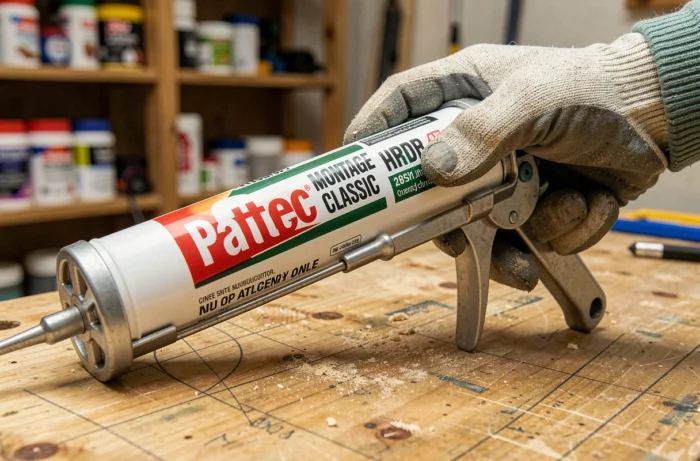
Preparing the surface before bonding: the step many neglect
Have you ever noticed that an “ultra-strong” adhesive didn’t hold on a freshly painted or dusty wall? The problem rarely lies with the adhesive. A poorly prepared surface drastically reduces adhesion, regardless of the product used.
Here are the points to check before any application:
- The surface must be clean and dry. Wipe with a cloth to remove dust, grease, or flaking paint residues. On a well-maintained painted wall, simply dusting is sufficient.
- Highly absorbent surfaces (raw plaster, cellular concrete) can “drink” the adhesive before it adheres. In this case, apply a primer or lightly moisten the surface to slow down absorption.
- Non-porous surfaces like glass, smooth metal, or certain plastics (PVC, ABS) are not compatible with a classic mounting adhesive. Always check the list of materials indicated on the cartridge.
- If the wall has irregularities (stucco, joints), increase the thickness of the adhesive bead to compensate for the dips and ensure sufficient contact.
Applying Pattex Montage Adhesive: beads, spots, or strips
The method of application depends on the size of the item to be fixed and its weight. Three techniques cover most situations.
Adhesive bead for linear fixings
For a baseboard or corner trim, apply a continuous zigzag bead along the entire length, a few millimeters from the edge. The zigzag helps distribute the adhesive over a wider area than a simple straight line.
Press the item against the wall for a few seconds, then hold it in place with masking tape while the initial grab occurs. On a smooth, clean surface, the temporary hold usually stays well without additional accessories.
Adhesive spots for lightweight items
A frame, a small decorative mirror, or a socket cover can be fixed with regularly spaced adhesive spots on the back of the item. Three to five spots are sufficient for a modest-sized object. There’s no need to cover the entire surface: too much adhesive prolongs the drying time without improving the hold.
Wide strips for panels
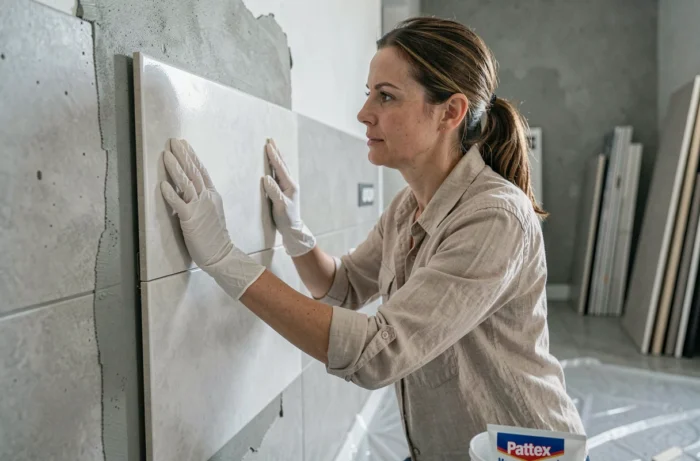
A wall panel or cladding requires parallel strips spaced a few centimeters apart. Apply the adhesive to the panel (not on the wall), then press firmly from the center towards the edges to expel air bubbles.
Drying time and final strength: do not confuse grab with curing
This is a common pitfall. The initial grab gives the impression that the bonding is complete when maximum strength is only achieved after complete drying. This timeframe varies depending on the thickness of the bead, the porosity of the surface, and the ventilation of the room.
During the drying phase, avoid stressing the bond. Do not hang anything on a freshly bonded item, and do not push on a panel to check if it “holds well.” Any premature handling weakens the bond.
For heavy items or vertical surfaces, temporary support remains the best assurance. Masking tape, shims, or light clamps work very well. Remove them once full drying has been achieved.
Common mistakes with Pattex Montage Adhesive
Several mistakes frequently occur and explain most failed bonds.
- Applying adhesive on a damp or greasy surface: the bond does not form correctly, and the item peels off within a few days.
- Using the adhesive outdoors when it is formulated for indoor use: temperature variations and humidity quickly degrade the adhesive.
- Cutting the cartridge tip too wide: the bead is too thick, the adhesive overflows on the sides, and drying slows down significantly.
- Not checking material compatibility: gluing expanded polystyrene with a solvent-based adhesive can dissolve the material instead of bonding it.
This last point deserves special attention. Solvent-based adhesives attack certain plastics and foams. If you need to bond polystyrene or flexible PVC, opt for a water-based mounting adhesive or a specifically compatible hybrid polymer.
Pattex Montage Classic adhesive remains a reliable product for indoor bonding tasks on common materials. The result depends less on the product itself than on the diligence applied to surface preparation and adherence to drying time. A clean surface, an appropriate bead, and temporary support are sufficient to achieve a lasting bond.